Quick Start Guide
Get started with SiteGenix in just a few minutes with this step-by-step guide.
Step 1: Create Your Account
To get started with SiteGenix, you'll need to create an account. Visit the signup page and follow these steps:
- Enter your email address and create a password
- Verify your email address by clicking the link sent to your inbox
- Complete your profile information
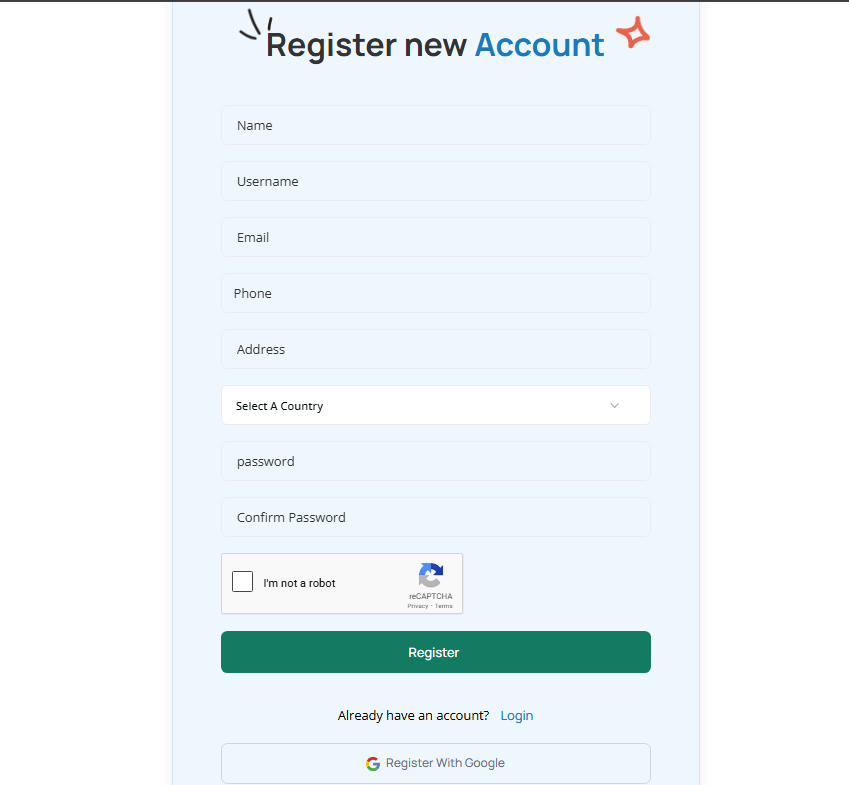
You can also sign up using your Google account for a faster registration process. Click the "Sign up with Google" button and follow the prompts.
Step 2: Choose a Plan
SiteGenix offers several plans to meet different needs and budgets. Review the available options and select the one that best suits your requirements.
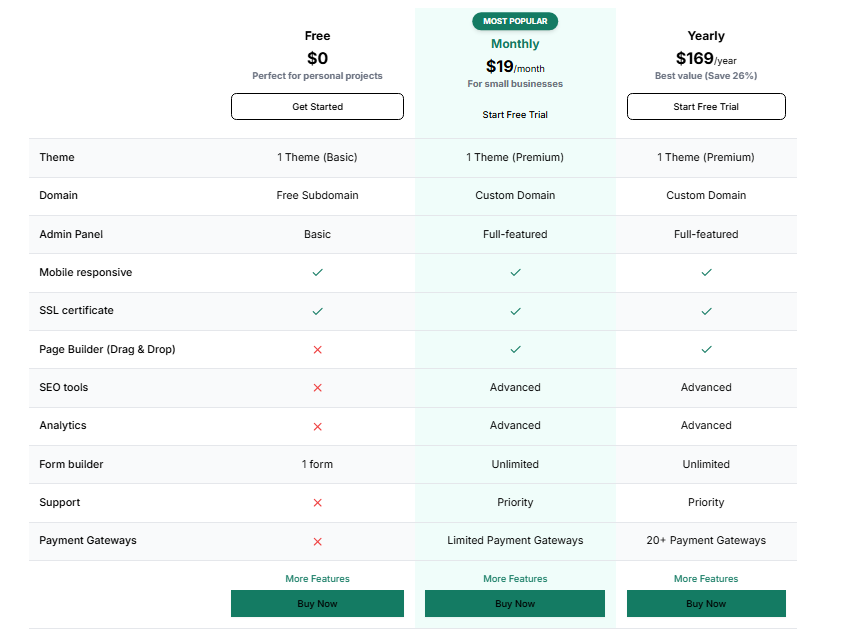
Each plan includes different features and resources. You can start with a free plan to explore the platform before committing to a paid subscription.
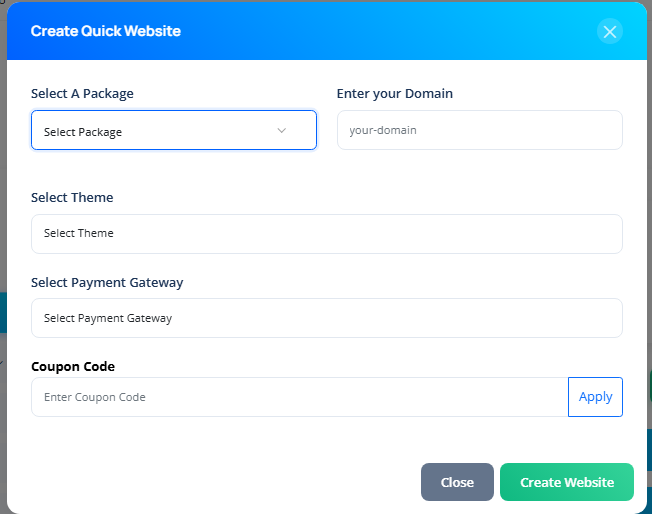
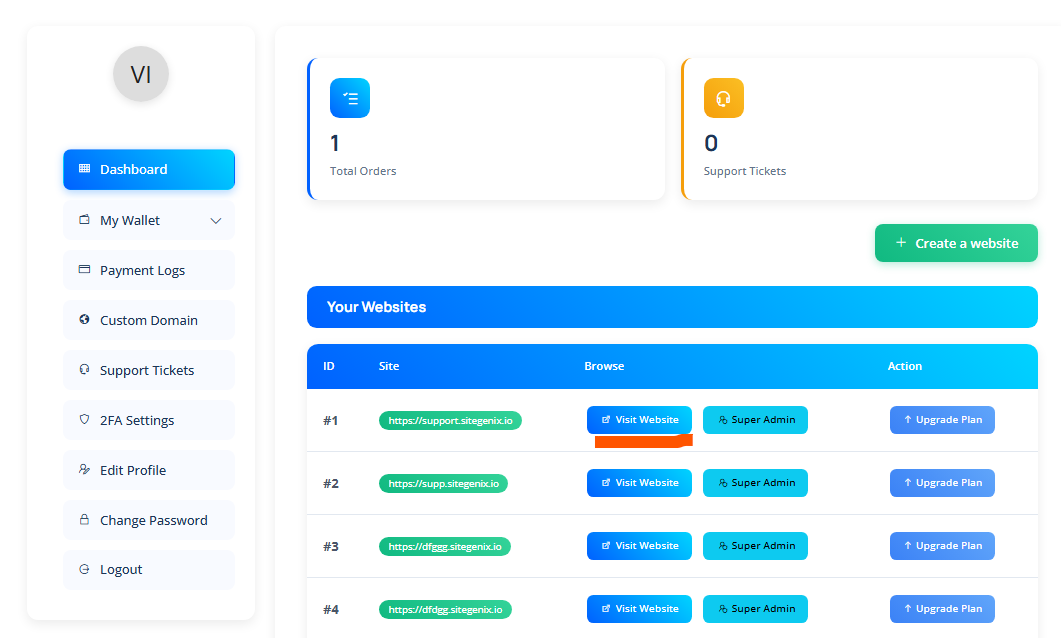
Step 3: Create Your First Website
Once you've signed up and selected a plan, you can create your first website:
- From your dashboard, click the "Create New Website" button
- Choose a template category that matches your website's purpose
- Browse the available templates and select one that appeals to you
- Customize the template name and click "Create"
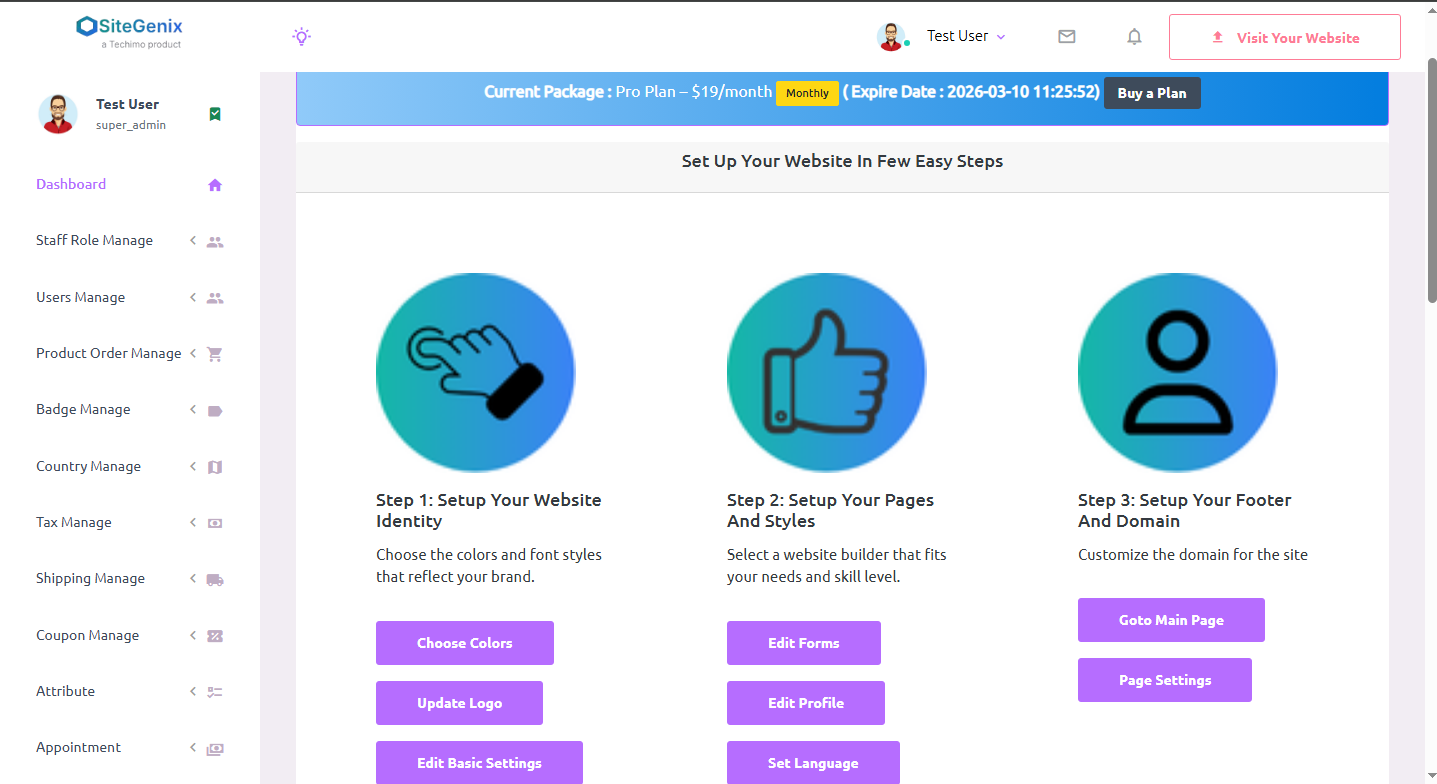
Step 4: Customize Your Website
Now it's time to make the website your own. Use the SiteGenix editor to customize every aspect of your site:
Content
Add and edit text, images, videos, and other content elements to your pages.
Design
Customize colors, fonts, layouts, and other design elements to match your brand.
Pages
Add new pages, rearrange existing ones, and organize your site's structure.
Features
Add forms, galleries, maps, social media feeds, and other interactive elements.
Step 5: Preview and Publish
Before making your website live, preview it to ensure everything looks and works as expected. Click the "Preview" button to see how your site will appear to visitors.
When you're satisfied with your website, it's time to publish it:
- Click the "Publish" button in the editor
- Review your site details
- Click "Publish Now" to make your site live
Your website will be published to a SiteGenix subdomain (e.g., yoursite.sitegenix.io). If you have a paid plan, you can connect a custom domain to your site.
Next Steps
Now that your website is live, consider these next steps to enhance it further:
- Optimize your site for search engines
- Connect a custom domain
- Set up analytics to track visitor behavior
- Explore marketing tools to promote your site
Explore the rest of our documentation to learn more about SiteGenix's features and how to make the most of them.