4. Requesting a Custom Domain
If you want to connect your own domain (like mywebsite.com) to your Sitegenix site instead of using a subdomain like yourname.sitegenix.io, follow this process.
Step 1: Open the "Custom Domain" Section
Go to your dashboard and click the "Custom Domain" option.
You'll be taken to the Custom Domain Setup Page.
Step 2: Understand DNS Requirements
Before sending the request, you need to configure DNS Records in your domain provider's settings.
🔸 Required DNS Records:
| Type | Host | Value | TTL |
|---|---|---|---|
| CNAME | www | sitegenix.io | Automatic |
| CNAME | @ | sitegenix.io | Automatic |
| (Cloudflare users) A | @ | 172.31.42.115 |
These records ensure that your domain correctly points to Sitegenix servers.
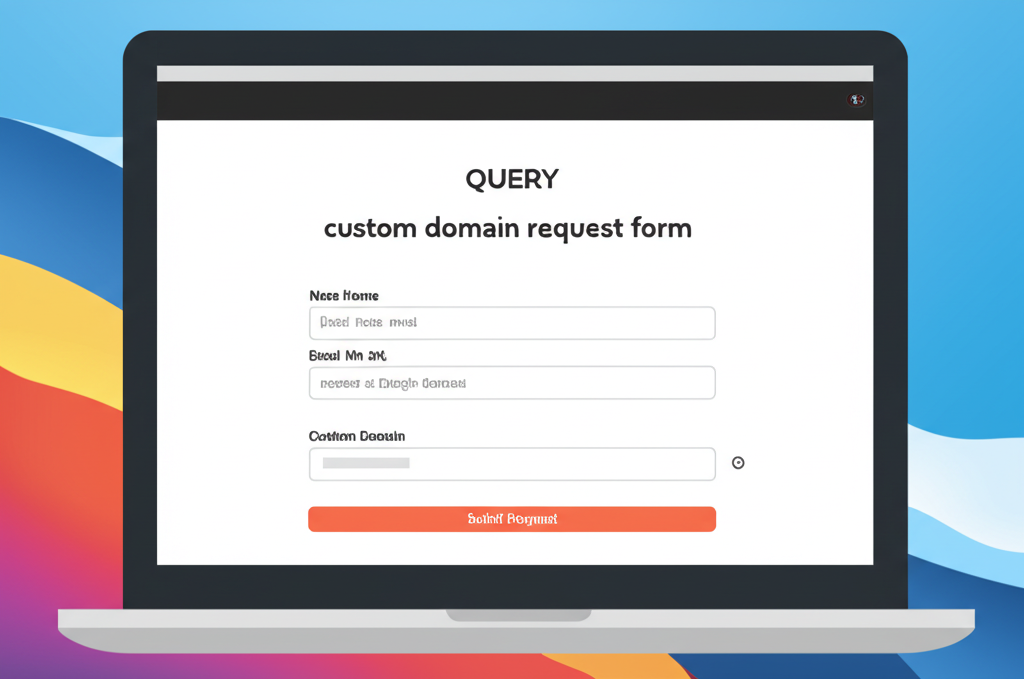
Step 3: Request a Custom Domain
After configuring DNS, click "Request Custom Domain".
Fill out the form:
Current Domain → Enter your existing Sitegenix subdomain (e.g., test.sitegenix.io)
Custom Domain → Enter your personal domain (e.g., mywebsite.com)
Click "Send Request".
Step 4: Admin Review & Approval
Your request will be reviewed by the Sitegenix admin team.
Once approved:
You will receive a confirmation email stating that your domain is now connected.
Your website will now be accessible at your custom domain (e.g., https://mywebsite.com).
✅ Example:
You created a site at test.sitegenix.io with the Agency theme.
You own the domain mywebsite.com and updated its DNS as instructed.
You submit a custom domain request with:
- Current Domain: test.sitegenix.io
- Custom Domain: mywebsite.com
After admin approval, your site will be available at https://mywebsite.com.